
>>

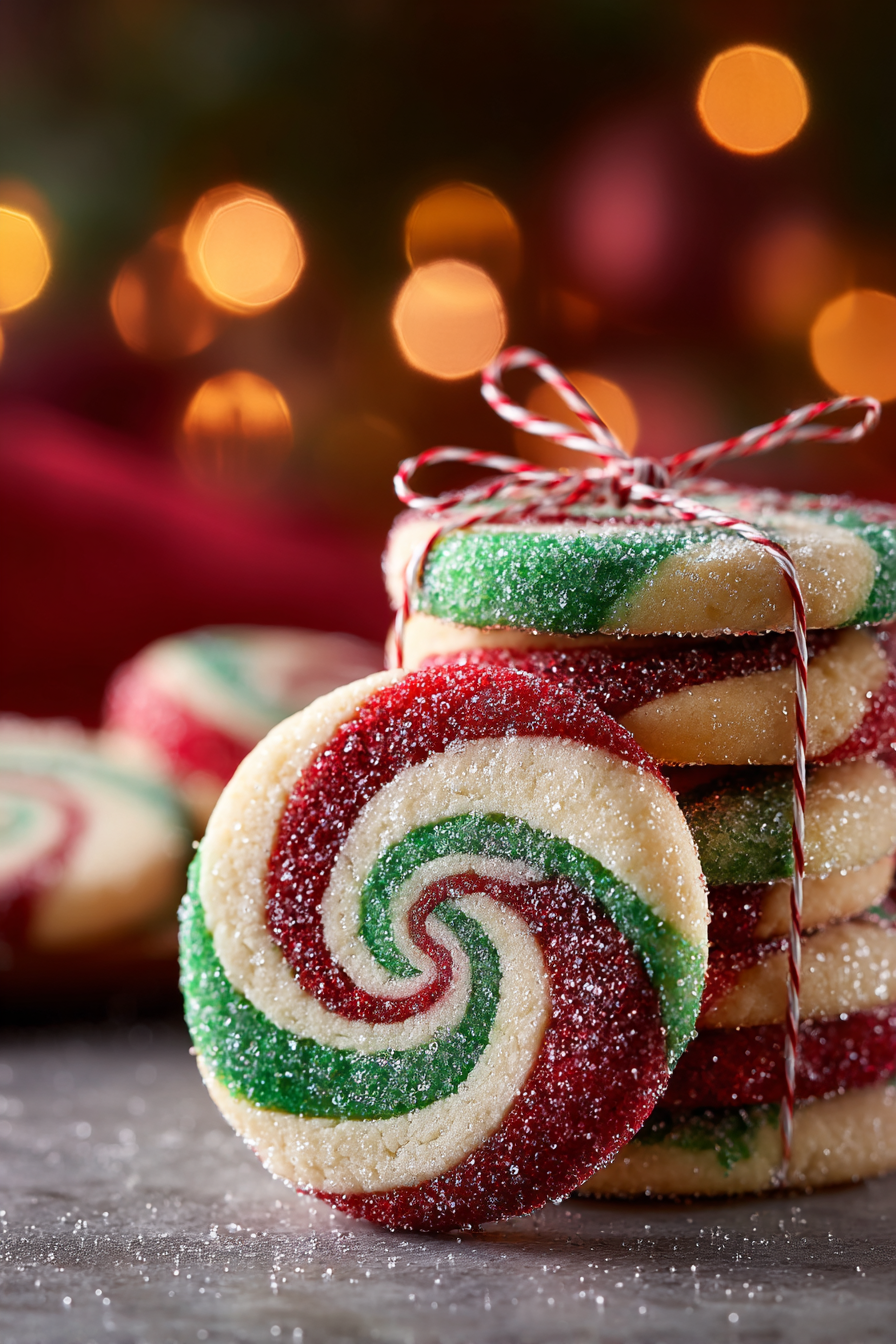
Festive red, green, and vanilla pinwheel cookies—tender, buttery slices rolled into cheerful spirals and finished with sparkling red sanding sugar. Perfect for holiday cookie exchanges.

This recipe for Christmas pinwheel cookies has been part of my holiday baking since I first made them for a church cookie swap a decade ago. I remember shaping the colorful layers on a blustery December evening while holiday music played in the background; the smell of butter and vanilla filled the kitchen, and the finished cookies were the first to disappear. These cookies are a crowd-pleaser because they balance a tender, buttery base with the visual delight of bright red and green spirals—every bite is both familiar and festive.
I discovered this approach while trying to simplify classic pinwheel techniques so busy families could reproduce them without special equipment. The result is an approachable method that uses everyday pantry staples, gel food coloring for vibrant hues without changing the dough consistency, and a short freeze before slicing to yield clean, perfectly shaped rounds. The texture is crisp around the edges and tender in the center, with a subtle melt-in-your-mouth butteriness. I love making a double batch, packaging them in cello bags for neighbors, and watching how even adults light up when they see the holiday colors.
In my experience, these have replaced many more complicated holiday cookies on my baking list. The church swap attendees asked for the recipe, and my family now requests them every season. The sanded sugar edge gives a little extra sparkle that makes presentation effortless.
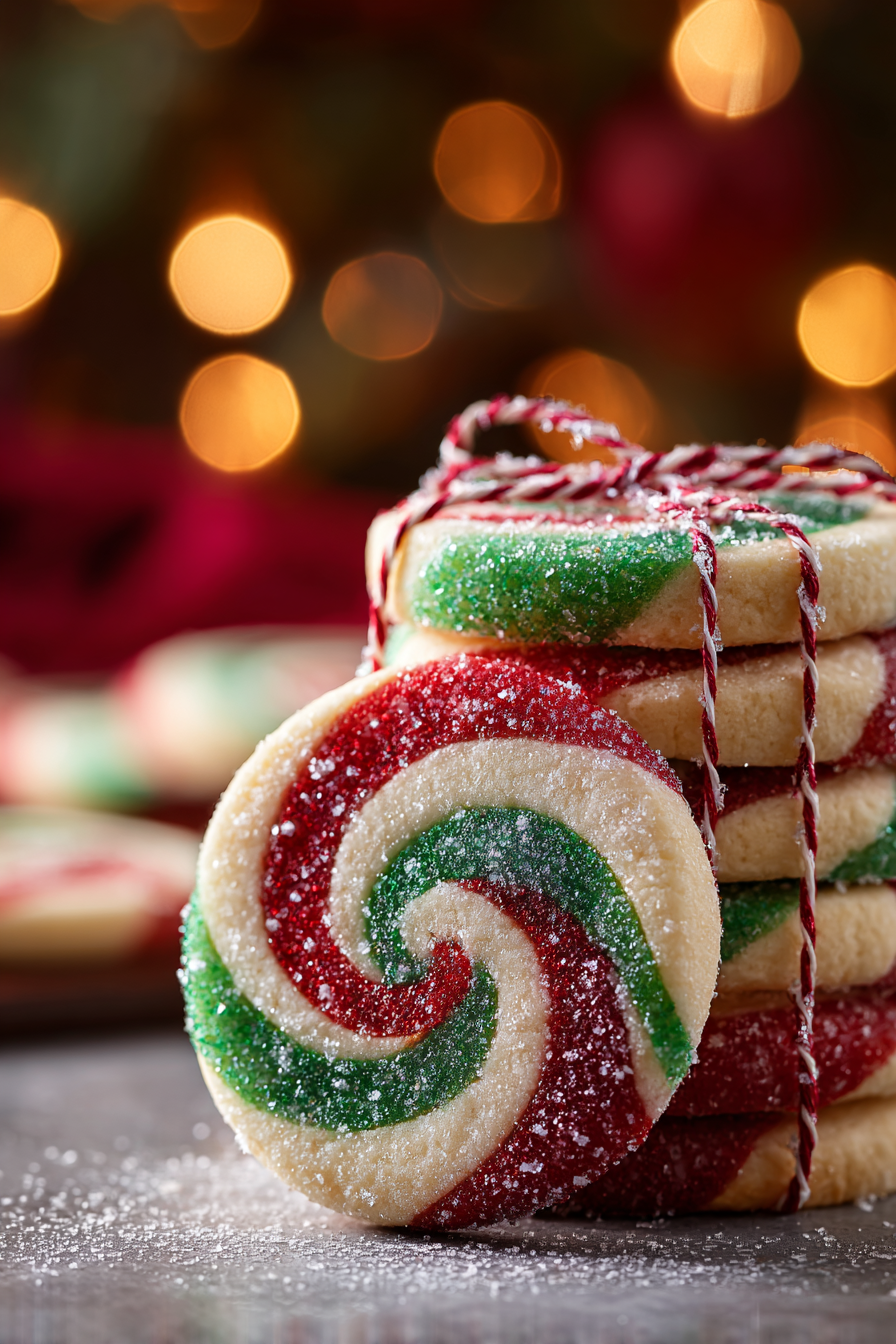
My favorite detail is the way the sanding sugar catches the light, making each cookie feel polished without extra frosting. These slices are the kind of dessert that travels well to parties and gift boxes; I once packed a dozen for a new neighbor and came back the next day to find they’d invited us over for coffee because they loved them so much.
To preserve texture, cool completely before storing. Place cookies in a single layer or separate layers with parchment paper in an airtight container at room temperature for up to 5 days. For longer keeping, freeze baked cookies in a freezer-safe container for up to 3 months—thaw at room temperature. If you freeze the unbaked log, wrap it tightly in plastic and foil; slice from frozen and bake as directed, monitoring the first batch so you know if an extra minute is needed. Keep sanding sugar separate until right before baking if you’ll freeze slices to prevent moisture transfer.
If you prefer a slightly healthier swap, substitute half the all-purpose flour with a high-protein pastry flour blend for a more tender crumb; expect a subtle change in structure. For dairy-free needs, use a firm vegan butter stick, but note flavor will be slightly different—choose a salted or unsalted variety and adjust salt accordingly. If you don’t have gel coloring, use powdered natural colorants or omit coloring and add sprinkles on the rolled edge instead. For a chocolate swirl, replace 1/4 cup of the plain dough flour with 3 tablespoons unsweetened cocoa powder and a touch more butter to maintain moisture.
Serve these cookies on a holiday platter alongside gingerbread, peppermint bark, or spiced nuts. For a party display, pipe small dots of white chocolate on a few cookies and top with a sugar pearl for variety. They pair beautifully with hot chocolate, mulled cider, or a strong coffee. For gifting, stack six in a cello bag tied with a ribbon and include a card with baking notes. The vibrant spirals also make a playful addition to a cookie exchange box where visual impact matters as much as flavor.
Pinwheel-style cookies have roots in classic rolled and layered European cookie techniques, adapted over time into colorful, playful treats for celebrations. In the U.S., these spiral cookies became especially popular for holiday baking because they can be elaborately decorated without complex icing. The layering technique echoes other festive layered confections, and the red-and-green palette aligns with modern Christmas aesthetics. Over decades, bakers have simplified the method—using gel colors and short freezes—to make them accessible to home cooks and bakers of all skill levels.
Adapt the colors and garnishes for other holidays: use pastels for Easter, orange and black for Halloween, or school colors for bake sale fundraisers. Swap red sanding sugar for gold or silver for New Year’s celebrations, or mix peppermint extract into the dough for a wintery twist—reduce liquid slightly to compensate. During summer markets, scale down the chill time and use fruit zest in the plain layer (lemon or orange) for a bright citrus note that complements the buttery base.
Make multiple logs and freeze them individually—label with date and color notes. On baking day, slice from frozen and bake in batches; keeping the rest of the log frozen prevents over-handling. Use a serrated knife cooled in ice water between batches for cleaner cuts. Portion dough into 1/3-inch slices and arrange them on trays ready to bake for quick, fresh cookies throughout the month. This approach saves time during busy holiday entertaining and ensures consistent results.
These pinwheel cookies are one of my most requested seasonal treats—simple, colorful, and reliably delicious. Whether you’re baking for a swap, gift, or quiet afternoon with hot cocoa, they bring a bit of festive joy to the table. Happy baking and enjoy the spiral magic!
Cream butter and sugar until light and airy to ensure a tender texture.
Use gel food coloring to avoid adding liquid that will change dough consistency.
Freeze the log before slicing to get clean, precise rounds and avoid misshapen cookies.
This nourishing christmas pinwheel cookies recipe is sure to be a staple in your kitchen. Enjoy every moist, high protein slice — it is perfect for breakfast or as a wholesome snack any time.
Yes—the unbaked log freezes well for up to 2 months. Wrap tightly in plastic and foil, then slice and bake from frozen.
Slice about 1/3-inch thick; thinner slices bake faster and crisper, thicker slices yield a softer center—watch for the edges to set.
This Christmas Pinwheel Cookies recipe makes perfectly juicy, tender, and flavorful steak every time! Serve with potatoes and a side salad for an unforgettable dinner in under 30 minutes.
Beat 2/3 cup softened butter and 2/3 cup sugar on medium speed until light and creamy, about 3–4 minutes. Scrape bowl as necessary.
Mix in 1 large room-temperature egg and 1 teaspoon vanilla until smooth. Ensure mixture is homogenous before adding dry ingredients.
Whisk 1 3/4 cups flour, 1/2 teaspoon kosher salt, and 1/4 teaspoon baking soda. Add gradually to mixer on low speed, mixing until just combined.
Divide dough into three portions. Color one portion red and another green using gel paste until evenly tinted. Leave one portion plain.
Shape each portion into a ball, wrap in plastic, and chill 1 hour. Roll each between parchment into 7-inch squares, chill 15 minutes.
Stack red, green, and plain squares on parchment, roll into a 12×8-inch rectangle, then tightly roll into a log. Wrap and freeze 1 hour.
Preheat oven to 350°F. Slice the frozen log into 1/3-inch rounds, roll edges in red sanding sugar, and bake 8–10 minutes until set. Cool briefly on pan, then transfer to a rack.
Last Step: Please leave a rating and comment letting us know how you liked this recipe! This helps our business to thrive and continue providing free, high-quality recipes for you.
Leave a comment & rating below or tag
@easywhiskrecipes on social media!

A quick and comforting one pot dinner of tender chicken, creamy rice, and vegetables cooked together in the Instant Pot for an easy weeknight meal.

Fluffy pancakes swirled with a warm cinnamon filling and finished with a silky cream cheese glaze. Perfect for weekend brunches and cozy mornings.

Buttery graham crust, creamy cheesecake, spiced Granny Smith apples, crunchy streusel, and a ribbon of homemade caramel — perfect dessert bars for gatherings.
Leave a comment & rating below or tag @easywhiskrecipes on social media!
Enjoyed this recipe? Share it with friends and family, and don't forget to leave a review!
This recipe looks amazing! Can't wait to try it.
Comments are stored locally in your browser. Server comments are displayed alongside your local comments.

Join to receive our email series which contains a round-up of some of our quick and easy family favorite recipes.
