
>>

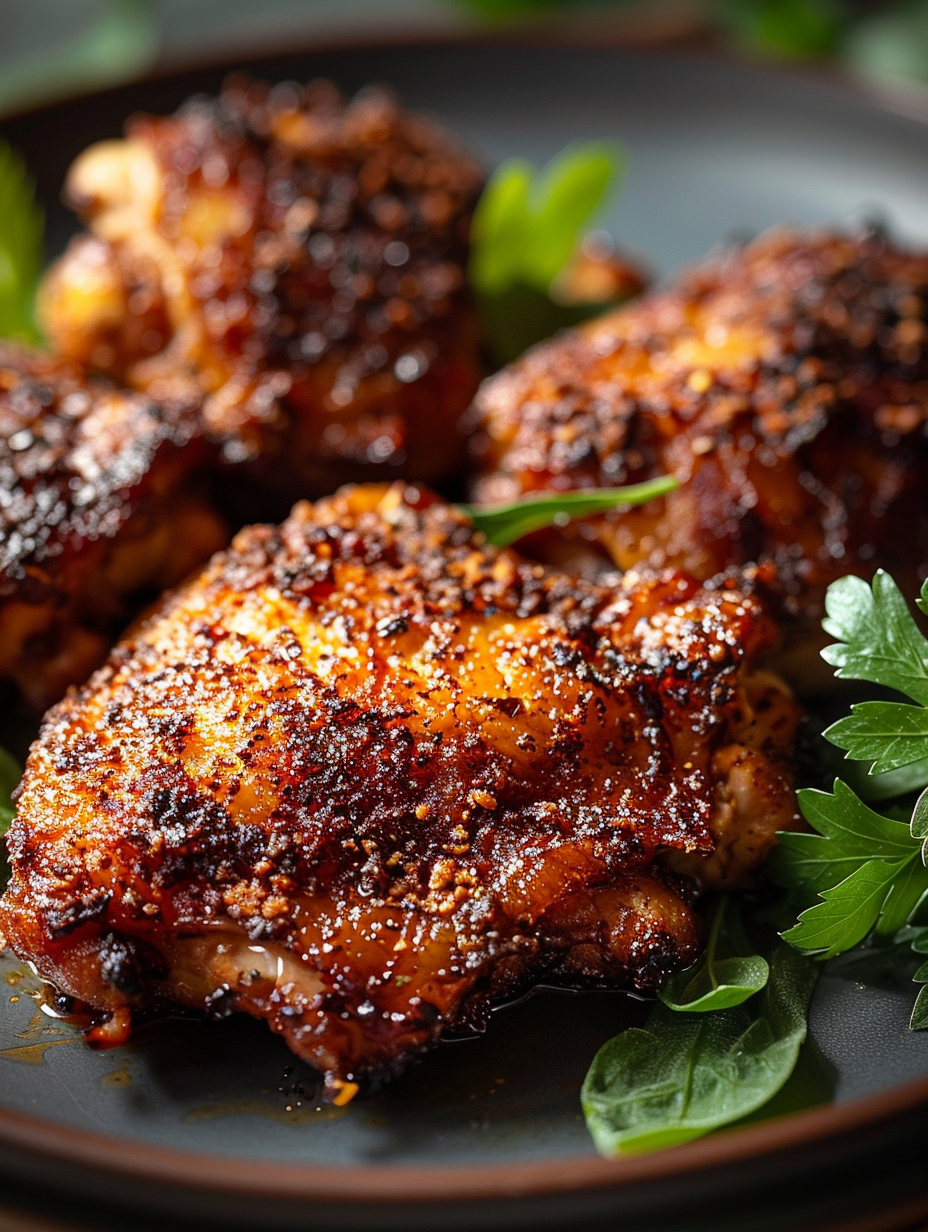
Bone-in, skin-on chicken thighs with a crunchy panko crust, a whisper of smoked paprika and thyme, finished with a buttery brush for deep golden browning.

This recipe for Crispy Irish Chicken Thighs began as a weeknight experiment and quickly became the dish I reach for when I want comfort with a crisp edge. I discovered the combination of buttermilk tenderizing followed by a panko-and-seasoning crust during a rainy February when I wanted something that felt celebratory but required minimal fuss. The thighs come out with skin that snaps when you cut into it and meat that stays juicy under the crunchy exterior — exactly the contrast I love. Friends and family have called it a keeper; one guest even declared it restaurant quality.
I love how approachable this preparation is: you can marinate the thighs in buttermilk in the morning and bake them when you get home, or do a quick 30-minute soak for a faster weeknight version. The flavor profile is simple — kosher salt, cracked black pepper, smoked paprika, thyme, and garlic powder — but the technique is what makes the difference. Using panko instead of finely ground crumbs gives a light, airy crust that stays crisp after baking, and a light brush of melted butter right before the oven gives you irresistible color and flavor. This dish quickly became the one that brings people to the table for seconds.
In my kitchen this dish became a turnaround star — from a rushed weeknight meal to a centerpiece on casual Sunday dinners. My sister once brought over a roasted potato salad and the two dishes turned into an impromptu feast; everyone loved how the herbs echoed through the meal. The recipe has proven forgiving, adaptable, and reliably loved.
My favorite aspect of this method is how forgiving it is: the buttermilk does the heavy lifting on tenderness while the panko and butter deliver crispness with minimal intervention. One memorable Sunday the thighs were the centerpiece of a small holiday table; the golden crust and herb aroma had everyone reaching before we even finished setting plates. Watching the skin crack and produce that first satisfying crunch never gets old — it’s the simple joys of cooking at home.
Cool the thighs completely before storing to avoid condensation that softens the crust. Place in an airtight container with paper towel layering to absorb excess moisture and refrigerate for up to 3 days. For longer storage, freeze on a tray for 1 hour to set, then transfer to a freezer-safe bag or container for up to 3 months. Reheat from frozen in a 375°F oven for 20–30 minutes, then finish at 425°F for 5–10 minutes to restore crispness. Avoid microwaving — it ruins the crust.
If you need a dairy-free version, swap the buttermilk for a mixture of 1 cup unsweetened almond milk plus 1 tablespoon lemon juice and use olive oil instead of butter. For gluten-free, replace all-purpose flour with a 1:1 gluten-free flour and choose gluten-free panko. To reduce salt, trim 1/2 teaspoon from both the flour and panko seasoning and flavor with fresh herbs like parsley and lemon zest at the end. Each swap changes texture slightly: olive oil yields slightly less color than butter; gluten-free panko may brown faster, so watch the oven.
Serve alongside buttery mashed potatoes, sautéed green beans with toasted almonds, or a crisp cabbage slaw to cut through richness. A squeeze of lemon or a parsley-lemon gremolata brightens each bite. For casual entertaining, shred leftover meat into tacos with pickled onions, or pair with roasted root vegetables and a grain pilaf for a cozy autumn platter. Finish with flaked sea salt and a scatter of fresh thyme for an attractive presentation.
While this preparation is not a traditional Irish recipe per se, it draws on rustic, pantry-friendly techniques common in Irish home cooking — simple salt-and-herb seasoning, the use of local poultry, and emphasis on texture and heartiness. The smoked paprika is a small, modern addition that nods to international flavors while thyme and garlic reflect classical British and Irish flavor pairings for poultry.

Spring: add chopped fresh thyme and a lemon-thyme vinaigrette to serve. Summer: serve with a chilled potato salad and tomatoes for a picnic-style meal. Autumn and winter: pair with roasted root vegetables and braised red cabbage; swap smoked paprika for a pinch of ground allspice in cooler months to complement seasonal produce. For holiday gatherings, double the recipe and keep thighs warm in a low oven while serving sides family-style.
Marinate thighs in buttermilk up to 24 hours in advance, then dredge and store on a tray covered in plastic wrap in the fridge. When ready to bake, allow 15 minutes at room temperature for the thighs to come off chill — this improves cooking consistency. Portion into single-serving containers with a side salad or roasted vegetables for grab-and-go lunches. Re-crisp in a 400°F oven for 8–12 minutes before serving to restore texture.
Give this method a try on a weekend when you have a bit of time to prep; once you experience that first crunch and juicy interior, you’ll understand why it’s become a frequent request in my home. It’s simple, reliable, and the perfect balance of comfort and crisp.
Dry the skin thoroughly before marinating to help the coating adhere and crisp.
Use a wire rack over a baking sheet to allow air circulation under the thighs and prevent sogginess.
Brush with melted butter for color; use olive oil if avoiding dairy.
Rest the thighs 5 minutes after baking so juices redistribute without steaming the crust.
This nourishing crispy irish chicken thighs recipe is sure to be a staple in your kitchen. Enjoy every moist, high protein slice — it is perfect for breakfast or as a wholesome snack any time.
Yes. Refrigerate leftover cooked thighs within two hours and consume within three days. Reheat in a 375°F oven to restore crispness.
Aim for 165°F (74°C) at the thickest part near the bone. Use an instant-read thermometer for accuracy.
This Crispy Irish Chicken Thighs recipe makes perfectly juicy, tender, and flavorful steak every time! Serve with potatoes and a side salad for an unforgettable dinner in under 30 minutes.
Pat thighs dry, season lightly, then submerge in 1 cup buttermilk. Cover and refrigerate 30 minutes to 24 hours to tenderize.
Mix 1 cup flour, 1 1/2 cups panko, smoked paprika, thyme, garlic powder, salt and pepper in a shallow bowl until combined.
Remove thighs from buttermilk, dredge briefly in flour, then press into panko mixture skin-side out to adhere the coating.
Preheat oven to 425°F. Place thighs skin-side up on a wire rack set over a rimmed sheet pan; brush with melted butter.
Bake 35–45 minutes until internal temperature reaches 165°F and skin is deep golden. Optionally broil 1–2 minutes for extra crisping.
Rest 5 minutes on the rack to set the crust and redistribute juices, then serve with lemon wedges or a fresh herb garnish.
Last Step: Please leave a rating and comment letting us know how you liked this recipe! This helps our business to thrive and continue providing free, high-quality recipes for you.
Leave a comment & rating below or tag
@easywhiskrecipes on social media!

A quick and comforting one pot dinner of tender chicken, creamy rice, and vegetables cooked together in the Instant Pot for an easy weeknight meal.

Fluffy pancakes swirled with a warm cinnamon filling and finished with a silky cream cheese glaze. Perfect for weekend brunches and cozy mornings.

Buttery graham crust, creamy cheesecake, spiced Granny Smith apples, crunchy streusel, and a ribbon of homemade caramel — perfect dessert bars for gatherings.
Leave a comment & rating below or tag @easywhiskrecipes on social media!
Enjoyed this recipe? Share it with friends and family, and don't forget to leave a review!
This recipe looks amazing! Can't wait to try it.
Comments are stored locally in your browser. Server comments are displayed alongside your local comments.

Join to receive our email series which contains a round-up of some of our quick and easy family favorite recipes.
