
Easy Easter Rice Krispie Nests

Crunchy puffed rice molded into sweet, chocolate-centered nests and filled with mini candy eggs — a quick, no-bake treat perfect for Easter celebrations and family baking.

This recipe for Easy Easter Rice Krispie Nests has been my go-to holiday activity for years. I first made these on a rainy April afternoon when I wanted something quick, festive, and kid-friendly to bring to a neighborhood potluck. The combination of warm, marshmallow-coated puffed rice and a glossy chocolate center studded with mini candy eggs is deceptively simple but always feels celebratory. The nests are crisp on the outside, slightly chewy where the marshmallow gathers, and the chocolate center gives a creamy contrast that makes each bite delightful.
I love how adaptable this treat is: it uses pantry staples, requires only basic equipment, and comes together in less than 30 minutes of active time. Over the years I've watched toddlers press their thumbs into the warm mixture, teens arrange candies with careful precision, and grandparents smile remembering similar sweets from their childhood. The tactile nature of shaping the nests makes this a perfect family project — everyone can take part. If you need a last-minute dessert for a brunch or an Easter basket filler, these are quick, crowd-pleasing, and irresistibly nostalgic.
Why You'll Love This Recipe
- Ready in about 30 minutes from start to finish — the active work is just melting and mixing, which makes it ideal for busy holiday mornings.
- Uses pantry staples: puffed rice cereal, mini marshmallows, butter, and chocolate — chances are you already have most ingredients on hand.
- Kid-friendly and hands-on: forming the nests is a fun activity for children and a great way to involve helpers of all ages.
- Make-ahead friendly: nests can be made a day in advance and kept airtight in the fridge or at room temperature for short periods.
- Flexible finishing options: use Cadbury Mini Eggs, jelly beans, or seasonal candy to match dietary or aesthetic preferences.
- Minimal equipment required — no oven needed, just a microwave or double boiler and a baking sheet lined with parchment.
In my kitchen, these nests have become a ritual: I put on a playlist, set out bowls of candy, and everyone gathers around the counter. My niece insists on adding exactly three mini eggs per nest, and my neighbor once told me she makes a batch every year to hand out to teachers because they’re both nostalgic and elegant in their simplicity. Small rituals like that are why I keep this recipe in regular rotation.
Ingredients
- Puffed rice cereal (6 cups): Look for a plain puffed rice like Rice Krispies. Choose a gluten-free labeled puffed rice if you need a gluten-free version; otherwise standard Rice Krispies work well for classic texture.
- Unsalted butter (1/4 cup): Real butter adds a rich mouthfeel and helps the marshmallow coating glide over the cereal. I prefer Land O'Lakes or Kerrygold for consistent flavor.
- Mini marshmallows (10 ounces): These melt quickly and create the sticky matrix that holds the cereal together. Use a name-brand marshmallow for the most reliable melt.
- Vanilla extract (1 teaspoon): Adds warmth and depth; pure vanilla extract produces the best aroma compared to imitation vanilla.
- Chocolate chips (1 cup): Milk chocolate gives a creamy counterpoint, while semi-sweet adds a slight bitterness. Ghirardelli or Nestlé Toll House melt smoothly.
- Vegetable oil or coconut oil (1 tablespoon): A small amount mixed into melted chocolate makes it shiny and easier to drizzle.
- Mini candy eggs: Cadbury Mini Eggs, jelly beans, or similar candies — use 2-3 per nest for visual appeal and the classic Easter look.
Instructions
Prepare Your Workspace: Line a baking sheet with parchment paper or wax paper and lightly grease your hands or a spoon with butter or non-stick spray. Having everything ready — utensils, a greased spoon, and a microwave-safe bowl — speeds the process and prevents the sticky mixture from adhering excessively. A chilled baking sheet later helps the nests set faster. Melt Butter and Marshmallows: In a large microwave-safe bowl, combine the butter and mini marshmallows. Microwave on high for 1 minute, then stir vigorously. Continue microwaving in 20-30 second intervals, stirring each time until smooth; the total time is usually 2 to 3 minutes depending on microwave power. Stirring helps distribute heat and prevents scorching. If using a double boiler, melt gently over simmering water, stirring constantly until smooth. Stir in Vanilla: Remove the marshmallow mixture from heat and stir in 1 teaspoon of vanilla extract until fully incorporated. Adding vanilla after melting preserves its aroma; adding it to a very hot mixture for too long can dissipate the fragrance. Combine with Cereal: Add the 6 cups of puffed rice cereal to the bowl. Using a buttered spatula or spoon, fold the cereal into the marshmallow mixture until evenly coated. Use gentle folding motions to preserve the puffed texture and avoid crushing the grains. The mixture should be glossy and sticky but not runny. Form the Nests: While the mixture is still warm and pliable, scoop about 1/4 cup portions (roughly a heaping 1/4 cup) and press into your greased hands. Use your thumb to press an indentation in the center to create the nest shape. Place each formed nest on the prepared baking sheet about 1 inch apart to keep edges neat as they chill. Chill the Nests: Transfer the sheet to the refrigerator for about 15 minutes to firm up the nests. Chilling makes them easier to top and helps them hold their shape when you add chocolate. Melt the Chocolate: In a microwave-safe bowl or over a double boiler, melt 1 cup of chocolate chips. Microwave in 20-30 second bursts, stirring after each interval, until smooth. Stir in 1 tablespoon of vegetable or coconut oil to thin the chocolate and produce a shiny finish. This also helps the chocolate set more evenly. Decorate and Finish: Once nests are firm, spoon or drizzle a small amount of melted chocolate into the center of each nest. Immediately press 2 to 3 mini candy eggs into the chocolate before it sets. Allow the chocolate to harden at room temperature for 10 to 20 minutes, or pop the tray back into the fridge for 5 minutes if you’re in a hurry.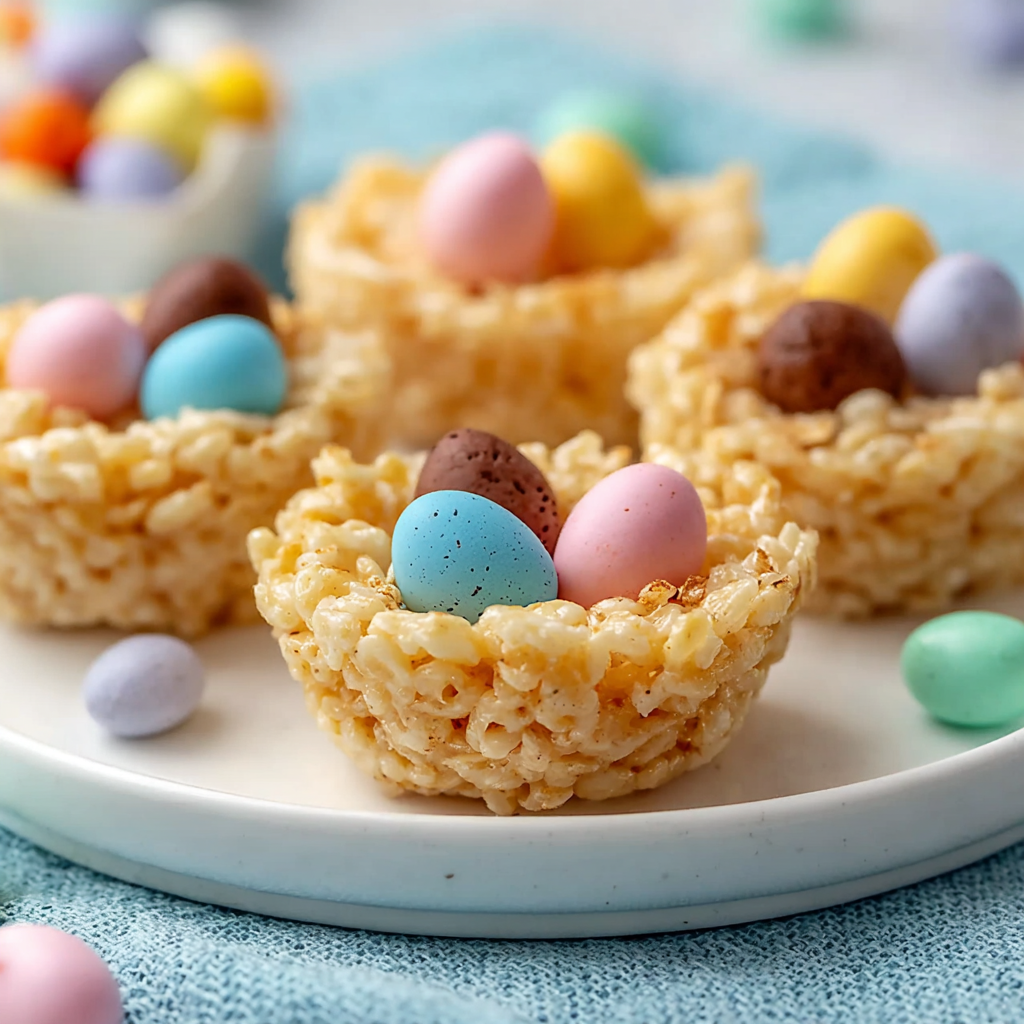
You Must Know
- These keep well at room temperature for a day in an airtight container; for longer storage, refrigerate for up to 5 days or freeze for up to 3 months.
- If you prefer firmer nests, increase chilling time; warm kitchens may require refrigeration to prevent sagging.
- Substituting dairy-free chocolate and vegan butter can make these dairy-free, but note most mini marshmallows contain gelatin and are not vegan.
- Rice Krispies can contain malt, so use a certified gluten-free puffed rice if you need a gluten-free version.
My favorite part is how the simple act of shaping nests turns baking into a gathering. One year I made three dozen for a school fundraiser and watched kids line up to choose their favorite candy eggs — the joy was contagious. The nests are portable, festive, and perfect for gifting in small boxes or cellophane bags tied with pastel ribbon.

Storage Tips
Store nests in an airtight container at room temperature for up to 24 hours to retain the crispness of the puffed rice. For longer storage, arrange them in a single layer or with parchment between layers and refrigerate for up to 5 days; refrigeration firms the texture but may make the marshmallow slightly chewier. For freezing, flash-freeze on a tray until solid, then transfer to a freezer-safe bag for up to 3 months. Thaw at room temperature for 20 to 30 minutes before serving. Avoid stacking while warm to prevent sticking and misshapen nests.
Ingredient Substitutions
If you need to make dietary swaps, use vegan butter and dairy-free chocolate to reduce dairy content, but remember that most conventional mini marshmallows contain gelatin and are not vegan; look for vegan marshmallows made with plant-based gelling agents if needed. For a gluten-free treat, choose puffed rice explicitly labeled gluten-free. Swap the mini candy eggs for dried fruit or sunflower kernels for nut-free alternatives. If you prefer less sweetness, use semi-sweet chocolate or reduce the number of candy eggs per nest.
Serving Suggestions
Serve these nests on a festive platter lined with pastel paper or in mini cupcake liners for easy handling. Pair them with a light spring punch or coffee during brunch. For an adult twist, drizzle a little dark chocolate over the tops and sprinkle flaky sea salt before the chocolate sets. They also make charming additions to gift boxes — wrap a few in cellophane and tie with ribbon for classroom treats or hostess gifts.
Cultural Background
The idea of using puffed grain cereals with melted marshmallow is an American shortcut that evolved from earlier cereal and confection traditions. Transforming the classic cereal bar into a shaped, themed treat is a modern twist popularized in home baking and classroom activities. The concept ties into seasonal celebrations — shaping sweets into nests and filling them with egg-shaped candies naturally fits spring and Easter symbolism, blending playful presentation with simple, comforting flavors.
Seasonal Adaptations
For spring, choose pastel candies and add a hint of lemon zest to the melted marshmallow for brightness. For Halloween, tint the marshmallow mixture with a few drops of food coloring and use candy corn or pumpkin-shaped candies. For a winter holiday version, swap mini candy canes or red-and-green M&Ms. Even small changes like changing the candy or adding toasted coconut will shift the aesthetic while keeping the same reliable technique.
Meal Prep Tips
To turn this into a meal-prep friendly snack, make a double batch and portion nests into small reusable containers for grab-and-go treats. Press the mixture into cupcake liners for uniform portions and easier storage. If you plan to prepare in advance, hold chocolate decoration until just before serving to maintain a glossy finish and prevent condensation. Label containers with the date — they freeze well, so making a batch ahead of time saves holiday-hour stress.
These Easy Easter Rice Krispie Nests are a small, joyful project that brings people together. Whether you make them with kids or assemble a tray for guests, the combination of crisp cereal, toasted marshmallow, and a chocolatey center studded with candy eggs always delivers a smile. Give them a try this season and make the recipe your own with favorite candies and little personal touches.
Pro Tips
Grease your hands lightly with butter or oil before shaping nests to prevent sticking and achieve smoother edges.
Chill the formed nests for at least 15 minutes before adding chocolate to keep the shape intact and prevent melting.
To make the chocolate glossy and easier to drizzle, stir 1 tablespoon of vegetable or coconut oil into the melted chips.
This nourishing easy easter rice krispie nests recipe is sure to be a staple in your kitchen. Enjoy every moist, high protein slice — it is perfect for breakfast or as a wholesome snack any time.
Tags
Easy Easter Rice Krispie Nests
This Easy Easter Rice Krispie Nests recipe makes perfectly juicy, tender, and flavorful steak every time! Serve with potatoes and a side salad for an unforgettable dinner in under 30 minutes.
Ingredients
Main
Instructions
Prepare Workspace
Line a baking sheet with parchment paper and lightly grease your hands or a spoon with butter or cooking spray to prevent sticking.
Melt Butter and Marshmallows
Combine butter and mini marshmallows in a microwave-safe bowl. Microwave on high 1 minute, stir, then continue in 20-30 second intervals until smooth, about 2-3 minutes total. Alternatively, melt in a double boiler.
Stir in Vanilla
Remove from heat and stir in 1 teaspoon vanilla extract to preserve aroma and deepen flavor.
Combine with Cereal
Add 6 cups puffed rice cereal and gently fold with a buttered spatula until evenly coated, taking care not to crush the cereal.
Form Nests
Scoop about 1/4 cup portions, shape into nests with your hands, and press an indentation in the center with your thumb. Place on the prepared baking sheet.
Chill Nests
Refrigerate the baking sheet for about 15 minutes to firm the nests and make them easier to decorate.
Melt Chocolate
Melt 1 cup chocolate chips in 20-30 second microwave bursts or over a double boiler. Stir in 1 tablespoon oil for shine and fluidity.
Decorate and Set
Spoon melted chocolate into each nest center and press 2-3 mini candy eggs into the chocolate. Allow to set at room temperature or refrigerate briefly.
Last Step: Please leave a rating and comment letting us know how you liked this recipe! This helps our business to thrive and continue providing free, high-quality recipes for you.
Nutrition
Did You Make This?
Leave a comment & rating below or tag
@easywhiskrecipes on social media!
Categories:
You might also like...

Instant Pot Creamy Chicken and Rice
A quick and comforting one pot dinner of tender chicken, creamy rice, and vegetables cooked together in the Instant Pot for an easy weeknight meal.

Cinnamon Roll Pancake Stacks
Fluffy pancakes swirled with a warm cinnamon filling and finished with a silky cream cheese glaze. Perfect for weekend brunches and cozy mornings.

Caramel Apple Cheesecake Bars
Buttery graham crust, creamy cheesecake, spiced Granny Smith apples, crunchy streusel, and a ribbon of homemade caramel — perfect dessert bars for gatherings.
Did You Make This?
Leave a comment & rating below or tag @easywhiskrecipes on social media!
Rate This Recipe
Share This Recipe
Enjoyed this recipe? Share it with friends and family, and don't forget to leave a review!
Comments (1)
This recipe looks amazing! Can't wait to try it.
Comments are stored locally in your browser. Server comments are displayed alongside your local comments.

Hi, I'm Sophie!
What's Popular

30-Minute Meals!
Join to receive our email series which contains a round-up of some of our quick and easy family favorite recipes.