
Homemade Christmas Peppermint Sticks

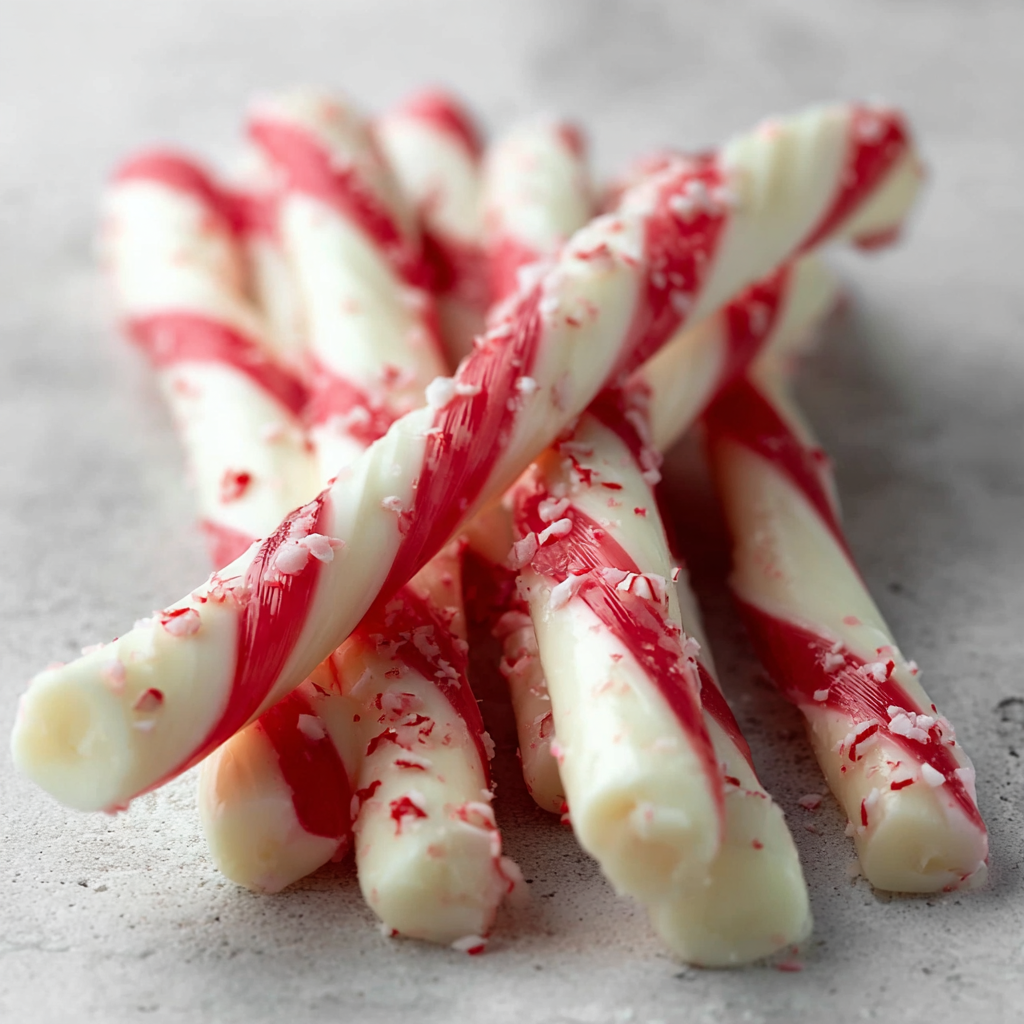
Bright, minty white chocolate sticks studded with crushed candy cane for an easy, festive treat — perfect for gift boxes, hot cocoa toppers, or holiday snacking.
This holiday season I rediscovered a small, joyful tradition: making peppermint sticks at home. I first learned this method one chilly November when I had extra candy canes from a clearance bin and a bar of white chocolate in the pantry. The combination of creamy white chocolate and crunchy peppermint created a texture and flavor contrast that felt both nostalgic and surprisingly grown-up. I began making a double batch to give to neighbors in little cello bags tied with red ribbon; they became the tiny treat everyone asked about at holiday parties.
These peppermint sticks are bright and refreshing on the palate — cooling peppermint that snaps through sweet, buttery white chocolate. The texture plays a big part: small shards of candy cane provide a satisfying crunch against the soft, almost melt-in-your-mouth chocolate. They’re simple to make, require minimal equipment, and lend themselves to customization: drizzle dark chocolate for contrast, fold in toasted nuts for crunch, or use molds for charming shapes. A small time investment yields many giftable pieces and a lot of holiday cheer.
Why You'll Love This Recipe
- Fast to prepare: active prep is about 15 minutes, and then the pieces freeze in roughly an hour — ideal for last-minute gifts or party favors.
- Simple ingredients: uses pantry staples and one good-quality white chocolate bar like Ghirardelli for superior melting and flavor.
- Make-ahead friendly: can be frozen and wrapped for up to three months, so you can assemble gifts on your schedule.
- Versatile serving options: enjoy them as hot cocoa toppers, bite-size gifts, or a minty finish after a rich meal.
- Kid-friendly assembly: crushing candy canes and pouring into molds is a safe, fun task for helpers of all ages.
- Presents beautifully: clear bags with a ribbon or small tins make attractive, inexpensive presents.
I’ve found that my friends and family most enjoy the balance of sweetness and peppermint; even those who say white chocolate is "too sweet" often come back for seconds because the candy cane shards keep each bite lively. Making these together has become an annual ritual — we laugh, taste, and package while holiday music plays in the background, and I always end up keeping a few extra for the freezer.
Ingredients
- 12 candy canes (crushed into small pieces): Choose sturdy, classic peppermint candy canes rather than soft varieties so they break into crisp shards. I like the traditional red-and-white striped kind for color contrast; if you prefer a milder mint, look for "mild peppermint" labels at the store.
- 1 teaspoon peppermint extract: Use pure peppermint extract rather than imitation for the cleanest, most refreshing flavor. Measure carefully — a little goes a long way and balances the white chocolate sweetness.
- 12 ounces white chocolate: Select a high-quality brand made for melting such as Ghirardelli or Callebaut. Chop the bar into even pieces so it melts evenly; baking or couverture-grade white chocolate gives the creamiest texture.
- Optional garnish: If you like, reserve an extra 1/4 cup of crushed candy cane for sprinkling on top to create a pretty, sparkly finish.
Instructions
Step 1 — Prep the candy canes: Place the candy canes into a sturdy freezer bag, seal it tightly, and use a rolling pin or a meat mallet to crush them into small shards. Aim for a mix of fine dust and small chips so you get color and crunch without big, hard chunks. Wear gloves if you’re handling large amounts of sugar dust — it can stick to hands. Step 2 — Melt the white chocolate: Set up a double boiler: bring an inch of water to a gentle simmer in a saucepan and place a heatproof bowl over it (the bowl should not touch the water). Add the chopped white chocolate and stir constantly on low heat until smooth and glossy, about 5–8 minutes. Keep the heat low — overheating can cause the chocolate to seize. If you prefer, melt in 20–30 second bursts in the microwave, stirring thoroughly between bursts. Step 3 — Flavor and fold: Remove the bowl from the heat and stir in the peppermint extract. Add the crushed candy cane in two additions, starting with about 1/2 cup (roughly 4 candy canes worth) and folding gently to keep some pieces intact. Taste a small dab (cooled) and adjust the peppermint in 1/4 teaspoon increments if you want a stronger mint note. Step 4 — Pour into molds: Carefully pour the mixture into an ice cube tray or silicone molds, filling each cavity evenly. Tap the tray gently on the counter to remove any air bubbles and let heavier shards settle. If you reserved extra crushed candy cane, sprinkle a pinch on top of each cavity for a festive look while the chocolate is still wet. Step 5 — Set and unmold: Transfer the filled tray to the freezer for about 1 hour, or until fully hardened. To release the pieces, press the bottom of the silicone cavity or gently flex a plastic tray; work slowly to keep edges intact. Store finished pieces in an airtight container between layers of parchment to prevent sticking.
You Must Know
- These keep best in an airtight container in the freezer for up to three months or in the fridge for up to two weeks — sugar preserves them well.
- They’re high in sugar and contain dairy from the white chocolate; not suitable for strict dairy-free or vegan diets unless you use a vegan white chocolate alternative.
- Use silicone molds for easiest unmolding; rigid plastic trays work but require a gentle twist or light warming under your hands to release pieces.
- Do not overheat white chocolate — keep it below a low simmer and stir continuously to avoid graininess.
My favorite aspect of this process is how little equipment is required yet how impressive the results look. The first time I gave a box to my neighbor, she called the next morning delighted, saying the peppermint sticks made her coffee feel like a holiday treat. Watching children carefully fill molds and sprinkle the tops is another small joy — it’s an activity that feels festive and harmlessly sticky in the best possible way.

Storage Tips
Keep finished pieces layered between sheets of parchment or wax paper in an airtight container to avoid condensation and clumping. Store in the freezer for long-term keeping (up to three months). When removing for serving, transfer to the refrigerator 10–15 minutes before you want to eat them to avoid rapid blooming of the white chocolate surface. If you plan to gift the sticks, package them in small tins or cellophane bags with silica gel packets for humidity control if shipping.
Ingredient Substitutions
If you need a dairy-free option, use a vegan white chocolate or almond-based confectionery coating; expect a slightly different mouthfeel and sweetness. For a less sweet version try using a 50/50 blend of white and high-quality milk chocolate to mute sweetness. To change the flavor profile, swap peppermint extract for 1/2 teaspoon of orange extract for a chocolate-and-orange twist, or add 1/4 teaspoon vanilla to deepen the chocolate notes. Note: substitutions will alter texture and setting time slightly.
Serving Suggestions
These are perfect perched on mugs of hot cocoa as a stirring sweet, used as a garnish on plated desserts, or tucked into holiday bake boxes. For a beautiful platter presentation, arrange sticks on a bed of evergreen sprigs and cranberries. Try pairing with dark chocolate truffles or buttery shortbread for a balanced dessert board. For cocktails, a crushed half-stick rim works beautifully on peppermint martinis and creamy winter drinks.
Cultural Background
Candy canes are a staple of Western Christmas traditions dating back to 17th-century church choirs in Europe where simple sugar sticks were handed to children. The red-and-white-striped version and the peppermint flavor became popular in the 19th and 20th centuries. Pairing crushed candy canes with chocolate is a relatively modern twist that celebrates the peppermint flavor in a new textural form — combining the confectionery history of sugar sticks with the longstanding tradition of chocolate gifting.
Seasonal Adaptations
In winter, keep the classic peppermint. For spring or summer-themed events, use fruit-flavored hard candies and white chocolate tinted with a drop of natural food coloring to match the season. Around Thanksgiving try cinnamon or ginger candies with white chocolate for a spiced variation. For a luxe holiday version, drizzle tempered dark chocolate over the set sticks and add finely grated orange zest for a citrus-mint contrast.
Meal Prep Tips
Make multiple trays at once and store them separated by parchment layers in airtight containers. Freeze immediately to preserve the crispness of the candy shards. Label containers with date and flavor variations if you try multiple extracts. For grab-and-go gifts, portion into small bags of six or a dozen, compress lightly to save space, and store in a rigid box to prevent breakage during transport.
These peppermint sticks are a small project with a big payoff: quick to assemble, visually festive, and endlessly adaptable. Whether you’re gifting neighbors or adding a finishing touch to a holiday drink, they bring a cheerful, minty note to the season. Try a batch and make the recipe your own — I suspect it will become a little tradition in your house too.
Pro Tips
Crush candy canes in a sealed bag to contain sugar dust and achieve mixed particle sizes for both color and crunch.
Melt white chocolate slowly using a double boiler or short microwave bursts to avoid graininess or burning.
Reserve a small amount of crushed candy cane to sprinkle on top immediately after pouring for a decorative finish.
If you need to unmold quick, briefly warm the bottom of a plastic tray with your palms or run under warm water for a few seconds (not on silicone).
This nourishing homemade christmas peppermint sticks recipe is sure to be a staple in your kitchen. Enjoy every moist, high protein slice — it is perfect for breakfast or as a wholesome snack any time.
FAQs about Recipes
What if my white chocolate seizes?
Use a high-quality, meltable white chocolate and melt it slowly over low heat. If it seizes, gently stir in 1 teaspoon of neutral oil while warm to smooth it.
How long will peppermint sticks keep?
Store in an airtight container in the freezer for up to three months or refrigerated for up to two weeks. Thaw in the fridge before unwrapping if frozen.
Tags
Homemade Christmas Peppermint Sticks
This Homemade Christmas Peppermint Sticks recipe makes perfectly juicy, tender, and flavorful steak every time! Serve with potatoes and a side salad for an unforgettable dinner in under 30 minutes.
Ingredients
Main
Instructions
Prep the Candy Canes
Place candy canes in a sealed freezer bag and crush them into a mix of fine and small chips using a rolling pin or mallet. Aim for small pieces to balance crunch and ease of biting.
Melt the White Chocolate
Set up a double boiler and melt the chopped white chocolate over low heat, stirring constantly until smooth and glossy. Keep temperature low to prevent seizing and burn-off of milky flavors.
Combine Candy Canes and Chocolate
Remove chocolate from heat, stir in 1 teaspoon peppermint extract, then fold in crushed candy canes in two additions so some pieces remain whole for texture.
Pour into Molds
Pour mixture into an ice cube tray or silicone molds, tap to remove air bubbles, and sprinkle reserved crushed candy cane on top while still wet for decoration.
Freeze and Enjoy
Freeze assemblies for about 1 hour until fully set. Carefully unmold the sticks and store in an airtight container with parchment layers in the freezer or fridge.
Last Step: Please leave a rating and comment letting us know how you liked this recipe! This helps our business to thrive and continue providing free, high-quality recipes for you.
Nutrition
Did You Make This?
Leave a comment & rating below or tag
@easywhiskrecipes on social media!
Categories:
You might also like...

Instant Pot Creamy Chicken and Rice
A quick and comforting one pot dinner of tender chicken, creamy rice, and vegetables cooked together in the Instant Pot for an easy weeknight meal.

Cinnamon Roll Pancake Stacks
Fluffy pancakes swirled with a warm cinnamon filling and finished with a silky cream cheese glaze. Perfect for weekend brunches and cozy mornings.

Caramel Apple Cheesecake Bars
Buttery graham crust, creamy cheesecake, spiced Granny Smith apples, crunchy streusel, and a ribbon of homemade caramel — perfect dessert bars for gatherings.
Did You Make This?
Leave a comment & rating below or tag @easywhiskrecipes on social media!
Rate This Recipe
Share This Recipe
Enjoyed this recipe? Share it with friends and family, and don't forget to leave a review!
Comments (1)
This recipe looks amazing! Can't wait to try it.
Comments are stored locally in your browser. Server comments are displayed alongside your local comments.

Hi, I'm Sophie!
What's Popular

30-Minute Meals!
Join to receive our email series which contains a round-up of some of our quick and easy family favorite recipes.