
Moose Farts — No-Bake Chocolate Coconut Candies

Soft, chewy coconut and graham centers dipped in chocolate — an easy no-bake treat that’s perfect for potlucks, holidays, or a nostalgic sweet bite.
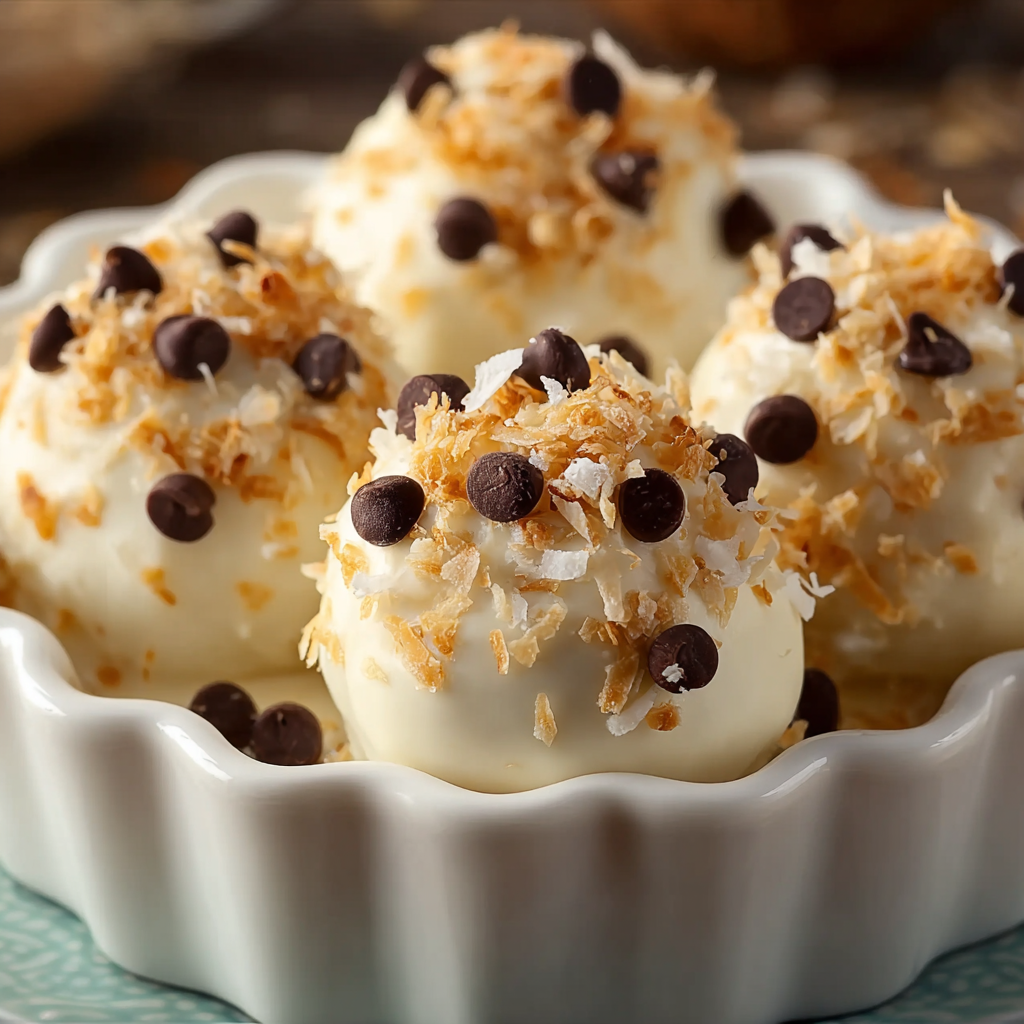
This recipe for Moose Farts is the kind of simple, comforting treat that lives on your family table for years. I first made these during a frenzied holiday season when I needed something fast, portable, and crowd-pleasing; the first batch disappeared so quickly I knew I had a keeper. Each morsel delivers a soft, slightly chewy center of coconut and graham cracker, lightly sweetened with condensed milk, then finished with a glossy chocolate coat and an optional roll in extra crumbs or coconut for texture. The result is sweet without being cloying, and the contrast between the tender interior and the snap of chocolate is what keeps people coming back for more.
They’re a beloved quick sweet for gatherings because they require no baking, use pantry staples, and are wildly forgiving to make. I often prepare them with my kids: they handle the rolling while I melt the chocolate, and we end up with a tray of little hand-formed treats that taste of nostalgia and late-night kitchen chatter. If you’re after an easy showstopper for a dessert plate or a snack that travels well, these fit the bill — and they store beautifully in the fridge or freezer.
Why You'll Love This Recipe
- Ready in under 30 minutes of active time and requires no oven, making it perfect for last-minute entertaining and hot weather when you don’t want to heat the kitchen.
- Made with pantry staples — sweetened condensed milk, shredded coconut, graham cracker crumbs, butter, and chocolate chips — so you rarely need a special grocery run.
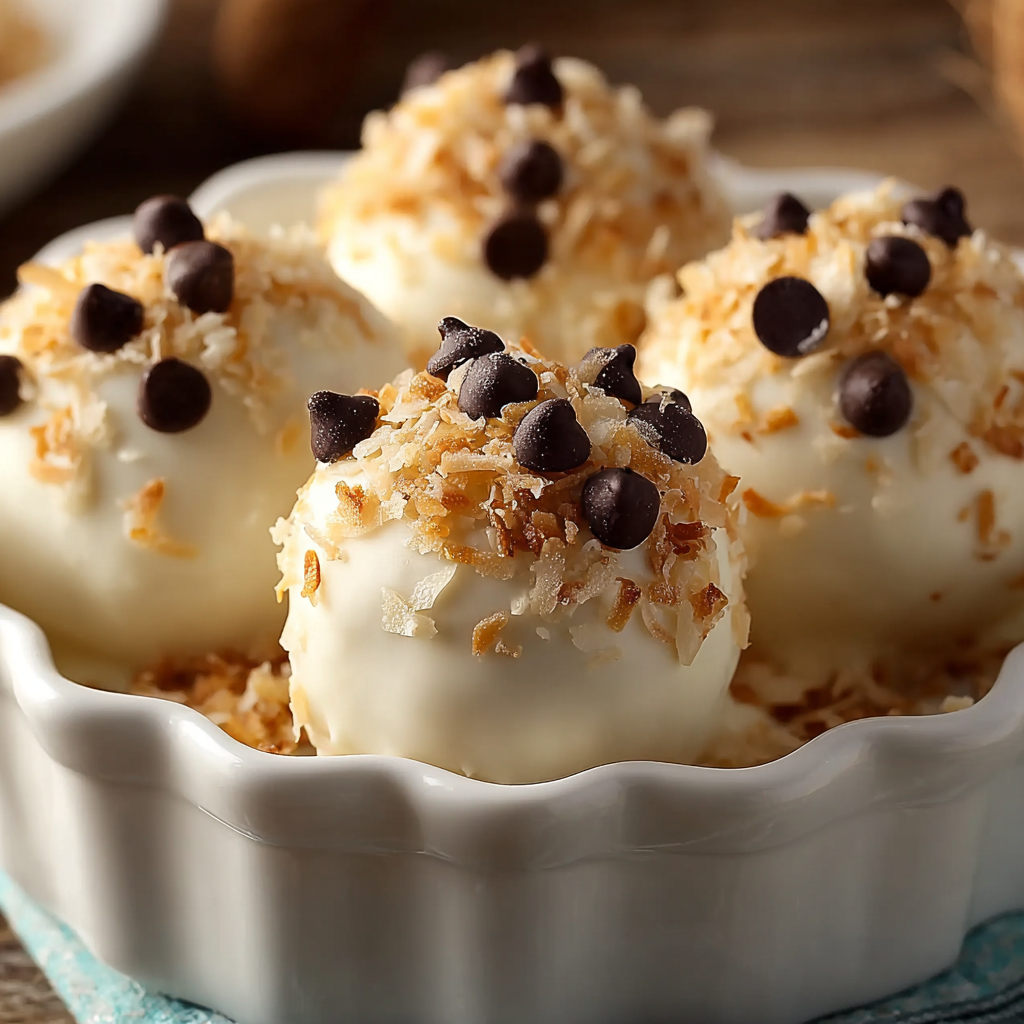
- Versatile finish options: roll in extra graham crumbs, finely shredded coconut, or chopped nuts for texture and visual appeal.
- Kid-friendly assembly: great for involving young helpers with simple, safe tasks like rolling and sprinkling.
- Excellent make-ahead quality — refrigerates for up to 2 weeks and freezes well for up to 3 months, perfect for gifting or prepping for parties.
- Customizable: swap chocolate types or cookie crumbs to match flavor preferences or dietary needs.
I’ve made these for summer picnics, winter cookie exchanges, and a last-minute teacher gift; in every case family and friends comment on the nostalgic flavor combination. They feel homemade and special without heavy effort, and I love how adaptable they are — I’ll often switch the coating or add citrus zest to surprise returning guests.
Ingredients
- Sweetened condensed milk (1 can, approx. 14 oz): This is the glue and sweetener of the mixture; use a full-fat brand for the best texture and flavor. Brands like Eagle Brand or store equivalents work well.
- Unsalted butter (1/4 cup, melted): Adds richness and helps bind the crumbs and coconut. Melt gently to avoid scorching; unsalted keeps the sweetness balanced.
- Vanilla extract (1 teaspoon, optional): Enhances aroma and rounds the sweetness — a touch of pure vanilla extract (not imitation) lifts the flavors beautifully.
- Dried shredded coconut (1 1/2 cups): Use finely or medium-cut depending on desired texture. Sweetened or unsweetened both work; unsweetened keeps sweetness in check.
- Graham cracker crumbs (1 1/2 cups): Finely crushed graham crackers give structure and a toasty note; substitute crushed digestive biscuits or graham-style cookies if preferred.
- Chocolate chips (1 1/2 cups): Use semi-sweet or dark chips for balance; milk chocolate for a sweeter finish. Mini chips melt faster and give a smoother coating.
- Extra graham crumbs or shredded coconut: For rolling and finishing the candies; provides visual contrast and a pleasant mouthfeel.
Instructions
Combine the wet ingredients: In a medium mixing bowl, stir together the entire can of sweetened condensed milk with the melted butter and vanilla. Whisk briskly until homogenous; the butter should be fully incorporated so the mixture is smooth and slightly glossy. This step ensures even distribution of fat for proper binding. Fold in dry elements: Add the shredded coconut and graham cracker crumbs to the bowl. Use a sturdy spatula to fold until the mixture comes together into a thick, sticky mass. If the mixture feels too wet, gradually add a tablespoon of extra crumbs; if too dry, a splash of condensed milk will help. Aim for a pliable dough that holds shape when pressed. Form the centers: Using a teaspoon or small cookie scoop, portion out uniform amounts and roll between your palms to form 1-inch balls. Place finished balls on a parchment-lined baking sheet. For best texture, refrigerate the tray for 15–30 minutes to firm up; chilled centers dip more cleanly into melted chocolate. Melt the chocolate: Gently melt the chocolate chips in a microwave-safe bowl in 20–30 second bursts, stirring between each interval until smooth. Alternatively, melt in a double boiler over simmering water, stirring until silky. Do not overheat — chocolate should be glossy and pourable, not scorched. Dip and finish: Use a fork or dipping tool to submerge each chilled ball in melted chocolate, allowing excess to drip off before placing back on parchment. While the coating is still wet, roll half the candies in extra graham crumbs and the other half in shredded coconut for visual variety. Return to the fridge for 10–15 minutes to set. Store and serve: Once set, transfer to an airtight container. Keep refrigerated for up to 2 weeks, or freeze up to 3 months. Bring to room temperature 10–15 minutes before serving to soften the center slightly for the best texture.
You Must Know
- These candies are high in sugar and calories per piece, but portion-controlled — about 1 inch each — means they’re easy to enjoy in small numbers.
- They keep well chilled for two weeks in an airtight container and freeze beautifully for up to three months; thaw in the fridge before serving.
- Because sweetened condensed milk contains dairy, these are not suitable for dairy-free or vegan diets unless you use a specially formulated condensed milk alternative.
- Swap coatings and crumb bases to change texture: finely chopped almonds, toasted sesame, or crushed pretzels all offer interesting contrasts.
One of my favorite things about these candies is how reliably they elicit smiles at gatherings — they’re small enough to be irresistible and nostalgic enough to prompt stories about childhood sweets. I remember preparing trays for a neighborhood bake sale once, and the entire batch sold out within an hour; people kept coming back asking if there were more.
Storage Tips
Store the finished pieces in a single layer or separated by parchment to prevent sticking inside an airtight container in the refrigerator for up to 2 weeks. For longer storage, freeze in a sealed freezer container for up to 3 months; freeze them in a single layer first until solid, then stack with parchment between layers to maintain shape. Bring frozen candies to the refrigerator for several hours before serving, or leave at room temperature for 10–20 minutes to slightly soften the center. Avoid leaving them at room temperature for extended periods, especially in warm climates, as the chocolate may sweat and the interior can lose structure.
Ingredient Substitutions
If you don’t have graham crackers, substitute an equal volume of crushed tea biscuits, digestive biscuits, or even vanilla wafers — the flavors will shift slightly toward whichever cookie you choose. For a nutty note, replace up to half the graham crumbs with finely ground toasted almonds. Use unsweetened shredded coconut to reduce overall sweetness, or sweetened coconut for a more pronounced chew. For a dairy-free version, seek a coconut condensed milk product and use a plant-based butter; results may be a little softer, so chill slightly longer before dipping.
Serving Suggestions
Serve on a small dessert platter garnished with toasted coconut, a sprinkle of sea salt, or finely grated orange zest to cut the sweetness. These pair beautifully with strong coffee, espresso, or a milky tea. For a holiday platter, alternate coatings and arrange with biscotti, spiced cookies, and chocolate-dipped fruit for contrast. They also make charming edible gifts: place a dozen in a small box with tissue paper and a bow.
Cultural Background
While the playful name has regional variations and is often used for assorted no-bake bites in North America, the idea of condensed milk–bound sweets is common worldwide. Condensed milk became a pantry staple in many places because of its long shelf life and concentrated sweetness; combined with local biscuits or coconut it forms the basis of numerous no-bake confections. The combination of graham-style crumbs and coconut gives these candies a familiar, almost retro character that evokes potlucks and holiday cookie trays.
Seasonal Adaptations
Adapt these to seasons by changing coatings and flavor accents: in winter add a pinch of cinnamon and roll in crushed peppermint for a festive bite; in spring add lemon zest and use white chocolate coating for a brighter finish; in summer pair with toasted macadamia crumbs for a tropical feel. You can also fold in small quantities of dried fruit, such as finely chopped apricot or cranberries, but be mindful that extra moist add-ins may require additional crumbs to maintain shape.
Meal Prep Tips
For efficient prep, make the centers a day ahead and keep them chilled; melt the chocolate and dip on the day you want to serve for the freshest sheen. Use a small cookie scoop to ensure uniform sizing — consistent pieces set at the same rate and present better. Label and date containers when freezing; to re-crisp coatings after thawing briefly pat with a paper towel if condensation forms. If making large quantities for events, enlist helpers: one person scoops, another rolls, and a third handles dipping and decorating.
These little candies are an invitation to experiment and share. They travel well, freeze reliably, and are forgiving enough for novice cooks while satisfying enough for seasoned hosts. Try making a double batch next time — you’ll likely be glad you did.
Final note: pair them with a bold coffee or a glass of milk, and don’t be surprised when guests ask for your secret — sometimes the simplest combinations are the most memorable.
Pro Tips
Chill the centers before dipping so the coating sets quickly and looks glossy.
Use a small cookie scoop for uniform size to ensure even chilling and dipping.
If chocolate seizes while melting, add a teaspoon of neutral oil or a bit of butter and stir gently to smooth it out.
Toast coconut lightly for added depth: spread on a sheet and bake at 350°F (175°C) for 3–5 minutes, watching closely.
This nourishing moose farts — no-bake chocolate coconut candies recipe is sure to be a staple in your kitchen. Enjoy every moist, high protein slice — it is perfect for breakfast or as a wholesome snack any time.
Tags
Moose Farts — No-Bake Chocolate Coconut Candies
This Moose Farts — No-Bake Chocolate Coconut Candies recipe makes perfectly juicy, tender, and flavorful steak every time! Serve with potatoes and a side salad for an unforgettable dinner in under 30 minutes.
Ingredients
Base
Coating & Finish
Instructions
Combine wet ingredients
Stir sweetened condensed milk with melted butter and vanilla until smooth and glossy. Ensure the butter is fully incorporated to create an even binding base.
Add dry ingredients
Fold in shredded coconut and graham cracker crumbs until a cohesive, slightly sticky mixture forms. Adjust texture with more crumbs or a splash of condensed milk as needed.
Form balls and chill
Portion the mixture with a small scoop into 1-inch balls, roll between palms, and place on parchment. Chill 15–30 minutes to firm up.
Melt chocolate
Melt chocolate chips in 20–30 second microwave bursts, stirring until smooth, or use a double boiler. Keep chocolate warm but not overheated.
Dip and decorate
Dip chilled centers into melted chocolate, allow excess to drip, then roll in extra graham crumbs or coconut if desired. Set on parchment and chill until coating is firm.
Store
Keep in an airtight container in the refrigerator up to 2 weeks or freeze up to 3 months. Thaw in the fridge before serving.
Last Step: Please leave a rating and comment letting us know how you liked this recipe! This helps our business to thrive and continue providing free, high-quality recipes for you.
Nutrition
Did You Make This?
Leave a comment & rating below or tag
@easywhiskrecipes on social media!
Categories:
You might also like...

Instant Pot Creamy Chicken and Rice
A quick and comforting one pot dinner of tender chicken, creamy rice, and vegetables cooked together in the Instant Pot for an easy weeknight meal.

Cinnamon Roll Pancake Stacks
Fluffy pancakes swirled with a warm cinnamon filling and finished with a silky cream cheese glaze. Perfect for weekend brunches and cozy mornings.

Caramel Apple Cheesecake Bars
Buttery graham crust, creamy cheesecake, spiced Granny Smith apples, crunchy streusel, and a ribbon of homemade caramel — perfect dessert bars for gatherings.
Did You Make This?
Leave a comment & rating below or tag @easywhiskrecipes on social media!
Rate This Recipe
Share This Recipe
Enjoyed this recipe? Share it with friends and family, and don't forget to leave a review!
Comments (1)
This recipe looks amazing! Can't wait to try it.
Comments are stored locally in your browser. Server comments are displayed alongside your local comments.

Hi, I'm Sophie!
What's Popular

30-Minute Meals!
Join to receive our email series which contains a round-up of some of our quick and easy family favorite recipes.